I hadn't touched an airbrush for over two years, but picked up the tool again yesterday after a visit to
Airbrush Services Almere that has redecorated their shop excellently. Not sure if I'll continue this old trade again, but it was nice to do. Therapeutic more or less. I used the
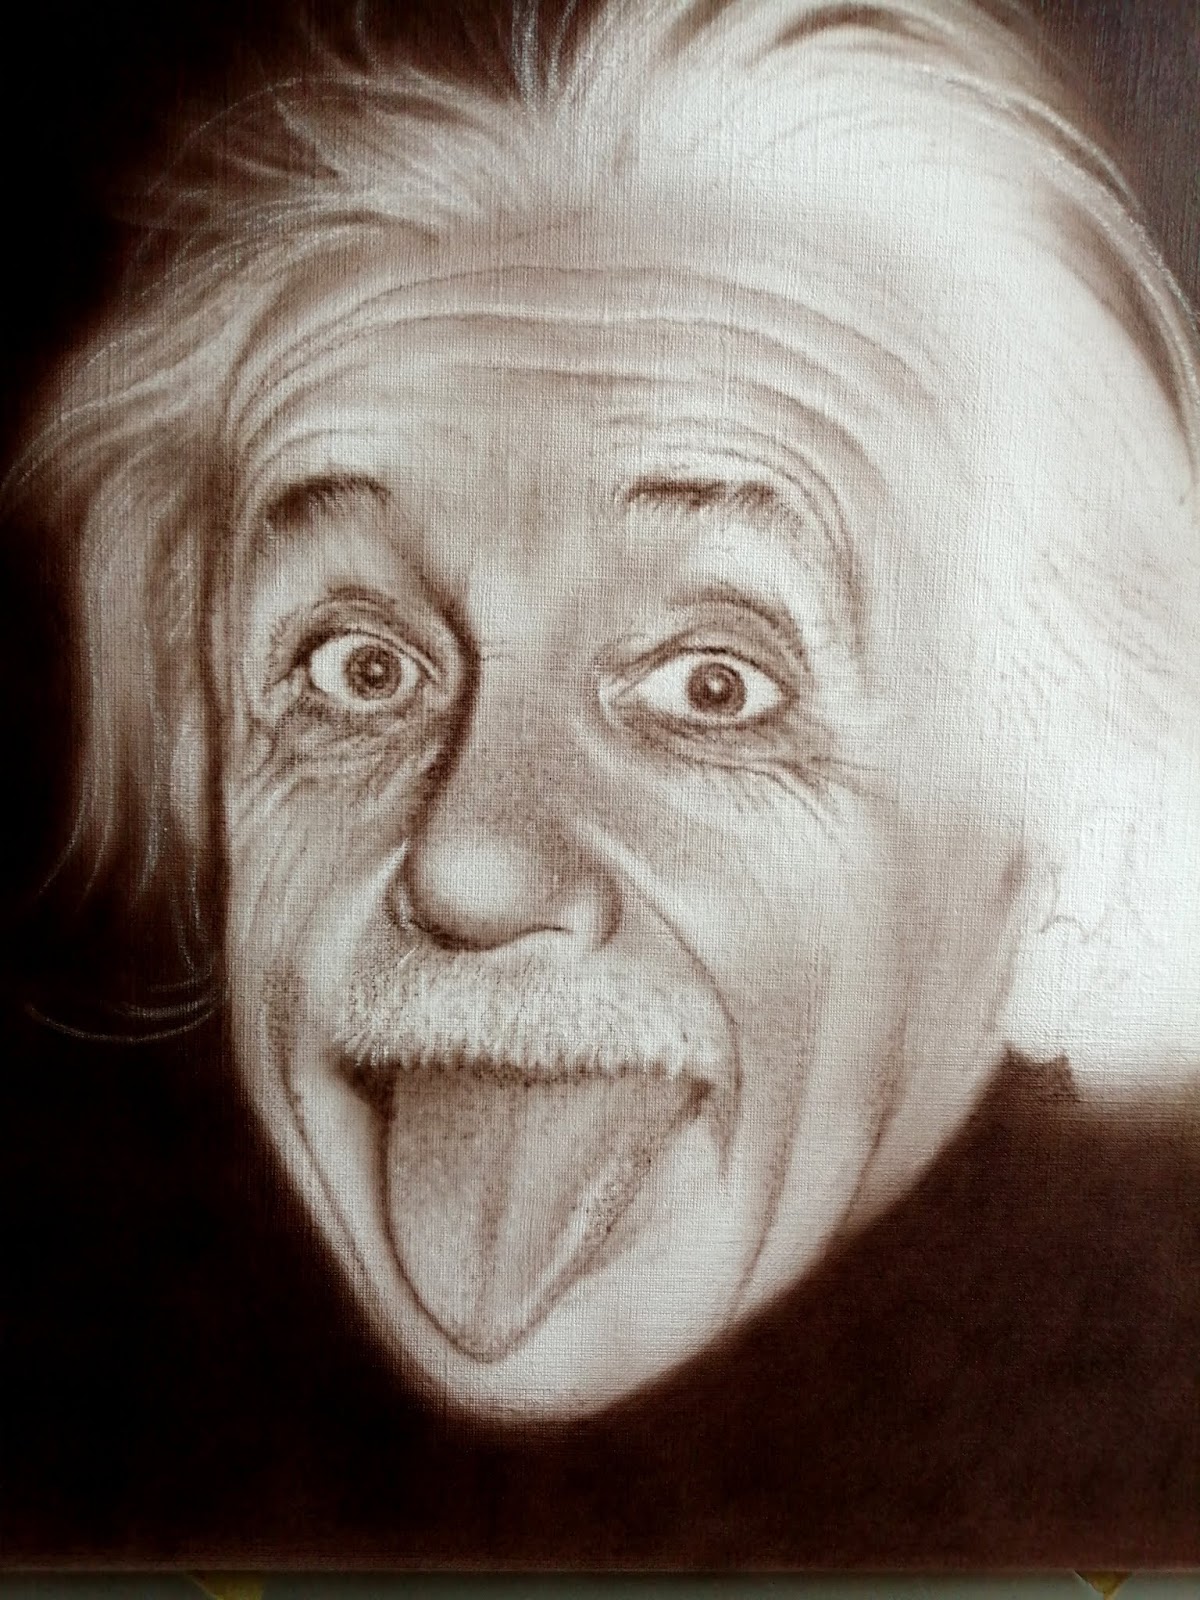
Iwata HP-BH airbrush with
Inspire H2O sepia paint on a
canvas structured paper (Canson for oil- and acrylic paints). 100% freehand airbrush and some erasing with
Faber Castell 7057 eraser pencil. No pencil- or hairy brush strokes added to enhance accents or add detail. I may be testing other airbrushes and paints while at the analog airbrush craft again.
The Canson paper is extremely strong and allows erasing (even with fiber glass erasers if done carefully) after which airbrushing over the erased area can be continued without a problem. In some places I sprayed Inspire white over the erased area before continuing airbrushing. That is somewhat similar to applying a layer of gesso onto which the portrait is sprayed. No spiders or absorption blobs due to too much paint accumulating in the damaged area where the paper surface was erased (which results in unwanted dark spots). Excellent!
This paper is well suited for artists who want their painting to have an authentic canvas effect, but in fact works a lot easier than real canvas.... It does not allow as meticulous details as on smooth paper, but real canvas doesn't allow too much detail either.
The H2O paint was I recalled it to be; the best a available on the market. Using reducer works better than mixing the paint with water. It makes the paint flow well, gives less clutter and keeps it usable / sprayable in the airbrush paint cup longer. In addition it allows erasing with more control. Finally it makes the airbrush easier to clean. These are properties not all paints combine.
For fine details I added
Vallejo Flow Improver to the mix: paint : reducer : flow improver = 2 : 8 : 1 The Flow Improver really does its job well; add too much and the paint will slip (and cause 'spiders'), but it significantly extends the period in which very fine details can be sprayed or postpones clogging of paint in the airbrush. Nice stuff. Mind you, fine details are better applied on smooth paper or special airbrush board. Use low air pressure, push the trigger carefully to barely let paint come out and work very close to the surface (1 to 2 mm) with the air cap removed.
Oldest stage at the bottom, newest at the top. Hint: click on an image and you'll be taken to Google's Lightbox which is a type of slide show that allows you to scroll tbrough the stages (on a PC that is) for easy compare of the stages.
 |
Really finished. 19:44 hrs June 11 2019
Only varnishing still needs to be done.
|
 |
Finished. I think. 11:16 hrs
June 2 2019. Daylight photo
|
 |
Further hair detailing 10:45 hrs
May 29 2019. Daylight photo
|
 |
Added hair contours and texture accents
23:22 hrs May 27 2019. Daylight photo |
 |
Adding background for accent balancing
11:22 hrs May 26 2019 |
 |
Adding texture detail 10:24 hrs May 26 2019
Daylight photograph |
 |
Accent and balancing by erasing 23:33 hrs May 24 2019
Photo shot in artificial light |
 |
Added texture detail 21:39 May 24 2019
Photo shot in the evening with artificial light |
 |
| Corrected left eye and added some detail 12:02 May 24 2019 |
 |
| After another half hour 14:00 hrs May 22 3019 |
 |
| After airbrushing half an hour 14:00 hrs May 21 2019 |