Showing posts with label guitar. Show all posts

May 2, 2024

Custom guitar skin wrap


Customizing guitars by analog airbrushing (with real paint) is quite expensive and time consuming. If the image is damaged, the musician is facing the same high cost and lengthy separation of his or her instrument.But there are ways to avoid this. I was thinking of hydro dipping first, but skin wrapping a guitar allows a more precise positioning of the image onto the body, requires less time than the other two options to make, while repairing is cheaper and faster. Replacing the original image with a new one or the same is possible - for which the time to create (print) the image necessary, although it is an option.

I have posted several designs and there are more to come, so stay tuned. A number of the designs is interchangeable between guitars of different brands. I will probably tinker with all designs over time, since time is the cradle of creative impulse in an illusionary realm. Some will lead to improvement, others to regret, such is the nature of hampered development. Below the images are the guitar brand and model and the title of the image.


Gibson Les Paul - Jimi Hendrix


Gibson Les Paul - Jaguar


Fender Stratocaster - The Witcher


Gibson Les Paul - Assassin's creed


Gibson Les Paul - Comanche chief Quanah Parker


Selmer Maccaferri Gypsy Jazz - Gypsy caravan with horses


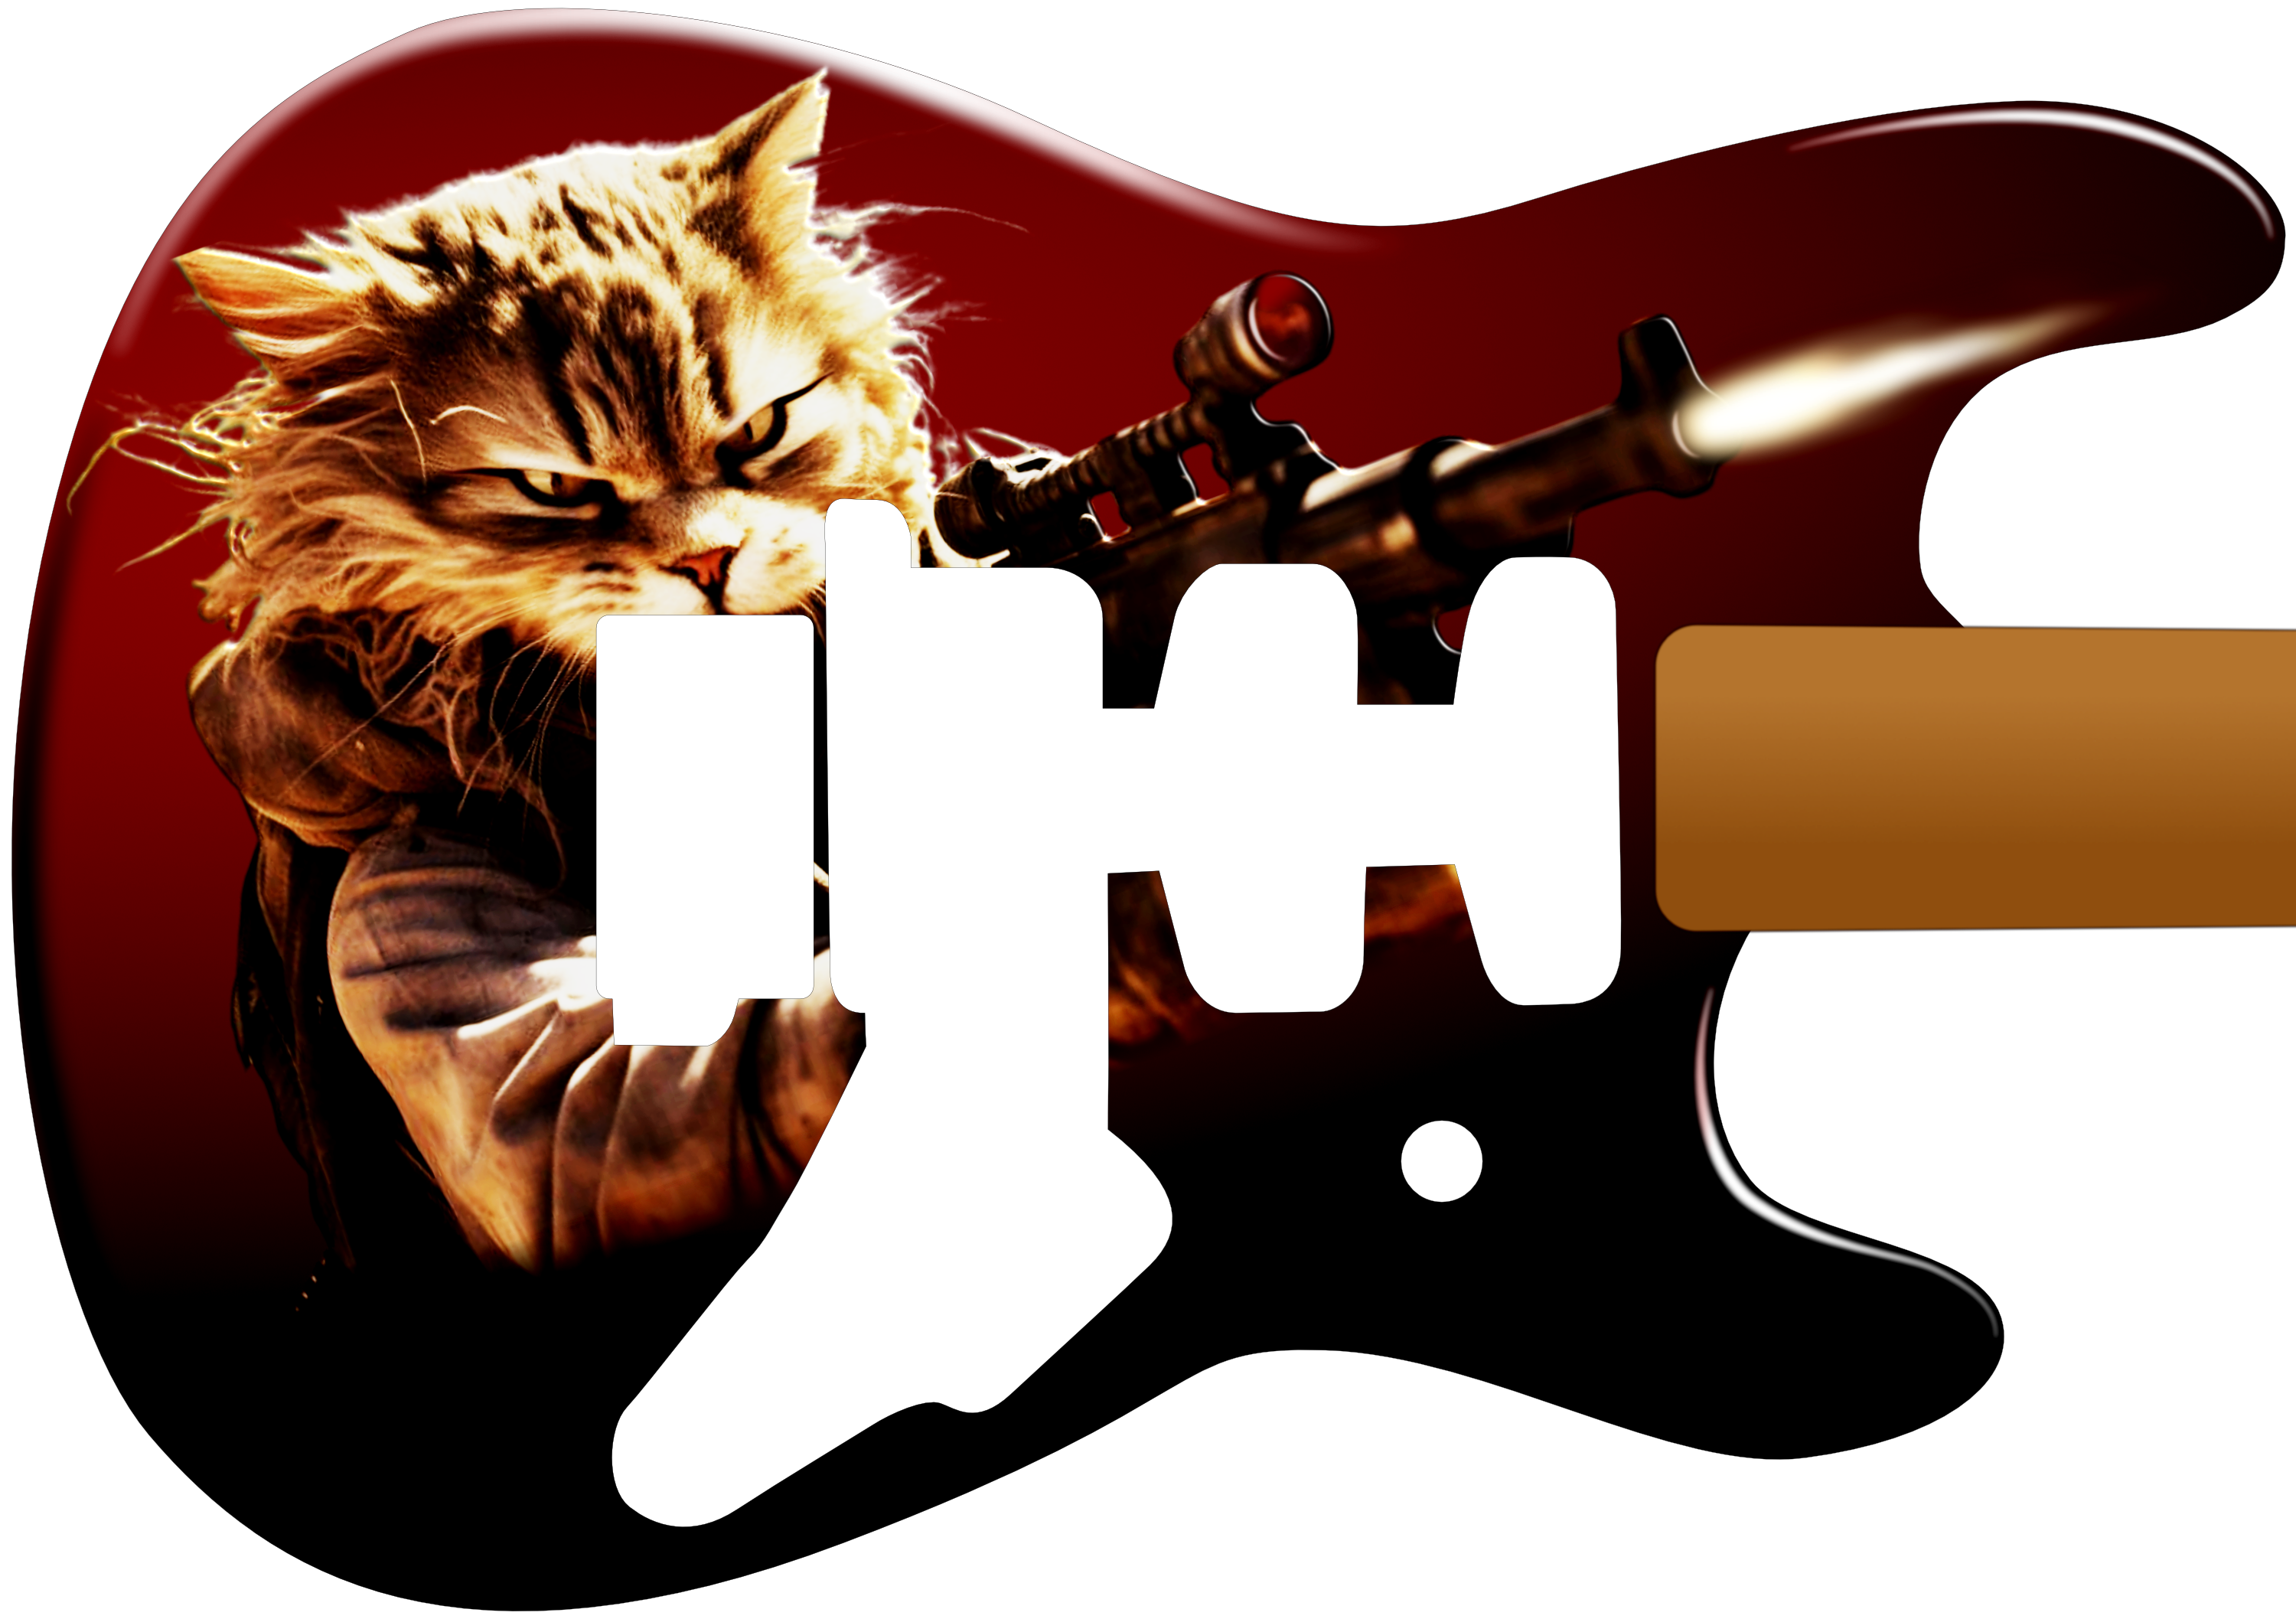
Fender Stratocaster - Cat with gun


Fender Stratocaster - Smoke


Fender Stratocaster - Smoke 2


Fender Stratocaster - Visitors


Gibson Les Paul - Hieroglyphs 1


Fender Stratocaster - Red silk


Gibson Les Paul - Fractal 1


December 8, 2013

Quetzalcoatl snake-guitar

I was born in the year of the Snake in the Water lunar cycle according to the Chinese zodiac. Because of this at some point I wanted to create a guitar that had the shape of a snake. It probably was of some sort of surrogate compensation of me being unable to get some decent sounds out of such an instrument, in spite of many attempts. I never got beyond the plucking of The House of the Rising Sun accords and even then the neighbours called the police to have me arrested. As hardware and software progressed, I used various 3D programs, none of which allowed me to produce the image I had in my head, until Rhinoceros R5 and T-Splines made it possible to approximate my vision.

November 20, 2012

Giger(ish) guitar WIP


Still in the process of becoming familiar with Inspire paints. I prefer to prepare decently, because I hate to mess up property of other people. So trial and error is performed on my own guitar that I bought when I still had money for 100 Euro. First wet sanding with 2500 grid (because the original clear was still in mint condition), then several layers of white base coat. The base layers behave pretty well, they're strong and provide a good surface with enough grip to spray fine detail. Below is the result of a few hours of spraying a Giger(ish) inspired image. I'm not copying Giger's fabulous art accurately. Unlike portraits this type of work allows me to use my intuition, without having to focus on likeness, which is nice.

All except the top image are pixel editing of an analog airbrush (with real paint). The image at the top is pure vector and shows an intermittent phase (i.e. not yet finished) that I am currently working on. I will show the various stages of this vector work in a separate future blog entry. The vector image can be used in a hydro dip process or - easier and faster - skin wrap application, that both allow multiple use and or replacement of a damaged customization image. Vector images can be made a lot more crispy than pixel images, although programs like Affinity Designer and VectorStyler allow to blur edges that make those images look close to realistic. When I have finished the vector customization, I will place a link here that leads to its creation showing the various stages of creation.


Vector image work in progress that I currently am working on


***************************************


Further digital edit


Giger(ish) phase 02 digitally edited


Phase 01 digitally edited


Initial analog airbrush


Still fiddling about with how far I can go with diluting Inspire paint. With the black it is quite extreme actually; I fill the paint cup of my Iwata Custom Micron SB for 2/3 rd with thinner and then dip the tip of a pipette in the bottle of black paint for approximately one centimeter twice and then stir the mix. If you dilute it even more the risk of blowing away the base layer underneath your image becomes too big if you stay in one spot too long. As you can see coverage is still good, glitches are very easy to repair while the diluted paint allows to spray very thin lines and gradually build an area or line to the desired intensity. As a bonus incorrectly applied lines and areas or unwanted over-spray of thinly diluted paint can be ...erased... accurately with a soft eraser. The underlying base layers hold up extremely well!

Air pressure is important; Inspire allows to use extremely low pressures. I tune it so that paint and air just come out of the airbrush, then up it a notch (1/8 th of a turn or so) and this will make the airbrush spray lines as thin as a hair. Using low air pressure requires building an image in several / many layers. This is the best way to paint (in French, but best description around); not only can you get the exact right nuance, but the thinly diluted paint and low air pressure allows to work extremely accurate.

Art work consisting of many layers results in light breaking very differently from applying paint in one or two passes - the painting's palette is more color rich and more vibrant while it gives a sense of depth as a bonus, similar to glacis techniques often used by the old master painters. All in all I am starting to like Inspire paints more and more as I become more familiar with them. It beats the crap out of all waterborne blubber. And using extremely low air pressure allows me to use it in the house (attic) without having to revert to expensive safety measures.

I don't have a lot of time, since I also spend time and effort on my other project, which is my main aim in life - allow every person to grow healthy food independently. Stay tuned and visit regularly however to see if I made any progress. I will describe every detail of the handling of Inspire urethane based paint. Once I am familiar enough with it, I will probably focus more on spraying guitars with uros or solvent based paints.

The kunt for whom I was supposed to airbrush this guitar cheated on my daughter, so I quit working on this project. Years later I heard that the chick with whom he cheated on my girl cheated on him as well, which was good to learn. Karma is a bitch. Years later I decided to continue the work on my PC and the Affinity Photo program to see that the result could have been if I would have had a reason to finish the project.

While working on this, I wondered if this now digital image could be used to hydro dip images to transfer them onto basically any guitar, provided I would give the bleed margin the required width. After the image is transferred several clear coats must be sprayed over it to protect it from scratching. I think this may be worth investigating. Not just for the ease of applying the image, but this technique could also be used to replace damaged images on guitars. This would make custom images cheaper than actual airbrushes within a shorter time. There could also be a choice between exclusivity, limited production runs or generally available images.