I am frustrated about Corel PhotoPain(t)'s inability to export to png; the program continues to crash. Re-installation did not resolve the problem. Downloaded a trial version of Affinity Photo. I will explain its functions once I have become more experienced in creating
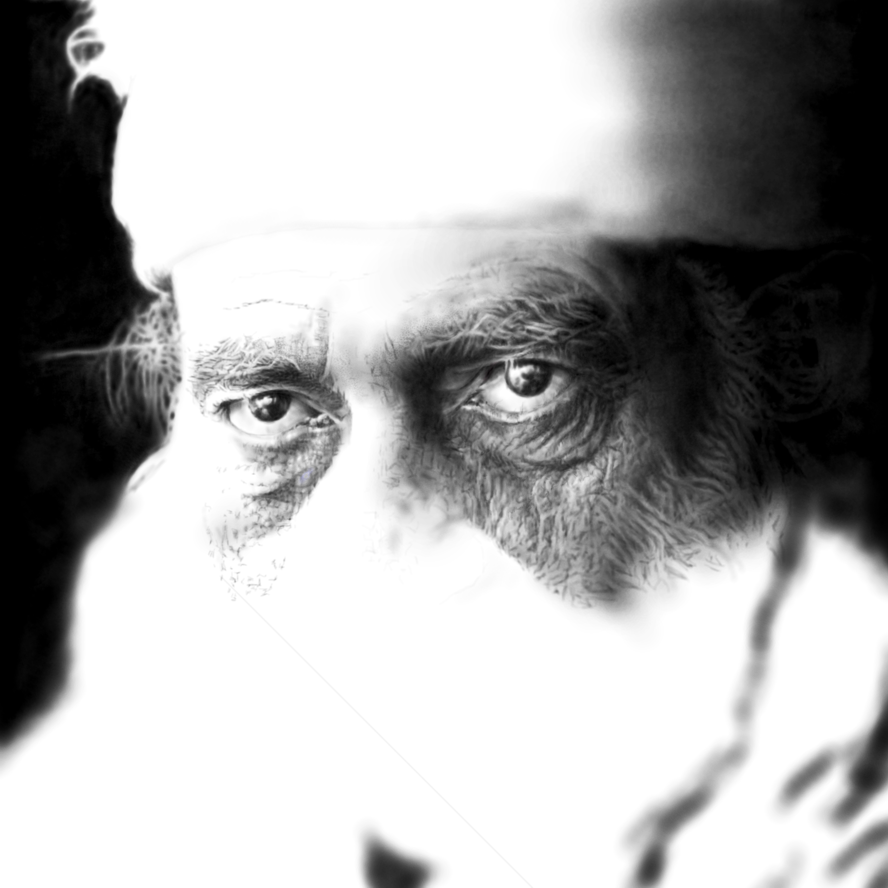
digital portraits in this program. Until now I am mostly experimenting. I selected Willie Nelson, because he has an interesting head and a matching personality. I
don't like smooth faces; they're no challenge to paint. I always try to
put an emphasis on the main features of the subject's face, which leads
to differences from the reference material, without losing the person's likeness. Typical facial features are subtly exaggerated.
Affinity Photo's UI is easy to get familiar with for those working with Corel PhotoPain(t) and Adobe Photoshop. Many shortcuts are linked to the same function. I must say I'm pleasantly surprised by AP. After getting annoyed with Corel and dumping Photoshop I tried GIMP, which is a really good program with a weird interface. AP's interface on the other hand, doesn't only offer similarity to Corel's and Adobe's photo-editors, it also adds functionality that allows to do the same with less clicks. Quite promising, considering the program hasn't been around that long.
Tip for desktop computer users: click on one of the images, which will lead you to the Blogger Lightbox. Use the mouse scroll wheel to switch between the various stages, so that you can see the differences between them. As usual, the oldest stage images are at the bottom and newest one on top.


 |
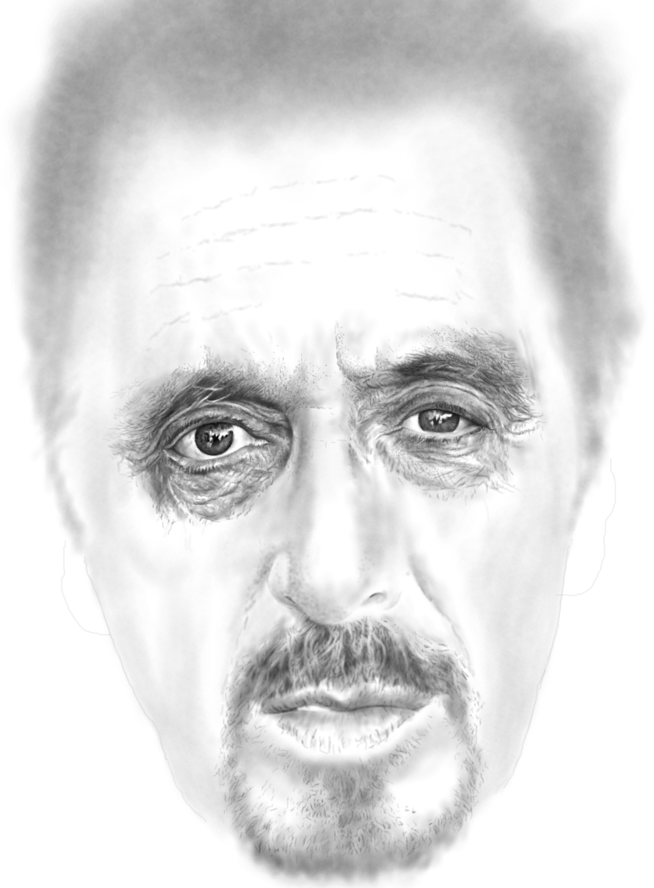
| Intermediate color test 01 |