April 16, 2022

Vector butterfly


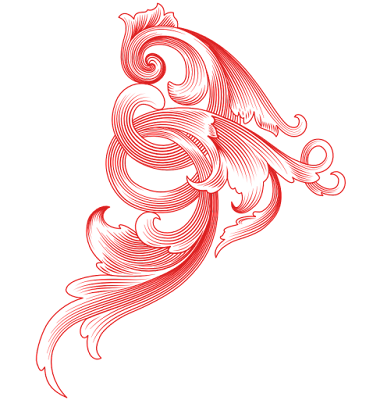
This was an exercise to draw organic shapes in Affinity Designer. To the curves and strokes gradient colours, opacity and fx were applied. Vector drawing programs are commonly known to produce hard edges, but Affinity Designer is quite well capable of the opposite, which allows to draw realistic vector shapes, that resemble imagery that is created in pixel editing programs, while being re-scalable to any size without loss of quality. Vector images are also easily edited afterwards, easier than pixel art in any event, because each curve and stroke is a separate, editable object.

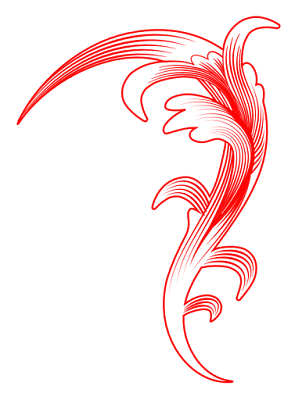
Affinity Designer allows object edges to be anywhere between hard and soft and even is capable of  creating objects that have a varied level of softness in their edges, that I haven't been able to achieve so effectively and fast in the programs of the competition, while still being able to swiftly edit the blurred edge properties afterwards. The varied level blurring is done by multi-level clipping, gradient opacity and Gaussian blurring effect. Below on top you see the rendered image and below that the vector outline view. Click the images to see them in Google's Lightbox.


The rendered view


The vector outline view


Adobe Illustrator and CorelDRAW offer the Mesh Fill function with which similar looking effects can be achieved. But that technique is nothing but replacing a cluster of pixels of the same colour with a small vector area of one particular colour, that can be manipulated somewhat. Depending on the complexity of the object that is drawn, using this method can require a shedload of work, because all colours involved (in the reference image) have to be mis en place (selected and made available in a colour ribbon before drawing even starts), and each change in color has to be determined to be replaced by a vector area. Affinity Designer allows to use curves and / or strokes that can be clipped in more levels, which makes it easy to edit areas at a later point in time, which is a hell of a chore in Mesh Fill images, even when parts of objects are drawn separately.

In addition Affinity Designer allows to define transparent areas that are adjacent or inside to the colour filled ones or inside them, with either sharp or blurred edges (which are also editable afterwards). So, illustrators and designers that must or want to make images that include organic shapes, are absolutely better served by Affinity Designer. Especially artists that don't have to worry about legacy data from programs of the competition, will find that Designer suits their requirements excellently. 


April 13, 2022

Rasta monkey cartoon


A short blog entry this time. I drew a vector rasta monkey cartoon in Affinity Designer, that I intend to use as a T-shirt design. Below the rendered image you see the vector wireframe view of it, which is quite simple and  hints at the fact that giving strokes and curves different properties and effects, is what really defines the appearance of an image. It also implies that these properties and effects can quickly be changed at a later stage. Click on the images to see larger versions of them in Google's Lightbox.


Vector wire frame view


April 12, 2022

Jugendstil mandala


Mandalas have always fascinated me, as well as Jugendstil designs, particularly ornaments. Without planning to draw either one of them, out of some sort of boredom, I kind of mindlessly started dabbling in Affinity Designer, the result of which you see below. When composing the main drawing, I applied several effects to eh image - the most dominant of which is Gradient Colour overlay that allows black and white images to be enhanced instantly. All values assigned in the settings of effects, colouring and gradients are esoteric / vector math values.


The mandala


The image basically contains two parts, that I have arranged in a 7 element circular pattern, the larger object of which I placed below this paragraph. The objects are embedded in the main drawing.


The larger object


The smaller object, I placed below this paragraph. Click the images to see larger versions of them in Google's Lightbox, that allows to scroll through them by turning the scroll wheel of the mouse.


The smaller object


April 2, 2022

Book cover pages, flyers and educational technical art


In this blog entry I present some recent cover pages that I have drawn in Affinity Designer, Rhinoceros and Cinema 4D. These were all created in A4 format for educational books in the advanced composite business for a company in which the entrepreneurs each have over 3 decades experience in high-tech companies in the severely regulated aviation and aerospace market. Also I placed some of examples of technical art created in 2D and 3D. The books were created in InDesign up to some 5 years ago, after which I switched to Affinity Publisher. In all of them I drew all images from scratch. These are books, contain a 100 to 300 pages, deal with the complex matter and processes in the advanced composites world.


Composite repair book cover 1 - Affinity Designer


Composite repair book cover 2 - Affinity Designer


Composite fabrication book cover 3 - Affinity Designer 


Some older books that I created from cover to back


One off design concept for Lufthansa - Affinity Designer


SAE report - Affinity Designer


Vacuum bagging method - Rhinoceros 3D


Composite repair student exercise tools - Rhinoceros 3D


Vacuum bag schedule - Rhinoceros 3D


Plain weave schematic - Cinema 4D


Hotbonder - Cinema 4D


Boeing composite locations with numbers for the colour blind - Affinity Designer


Boeing B777 presentation drawing - Cinema 4D


Airbus A350 presentation drawing - Rhinoceros 3D


Vacuum bag connector - Rhinoceros 3D


Honeycomb panel repair layers Rinoveros 3D


Tubular back-up structure - Rhinoceros 3D


Vacuum valves on differently curved surfaces - Rhinoceros 3D